
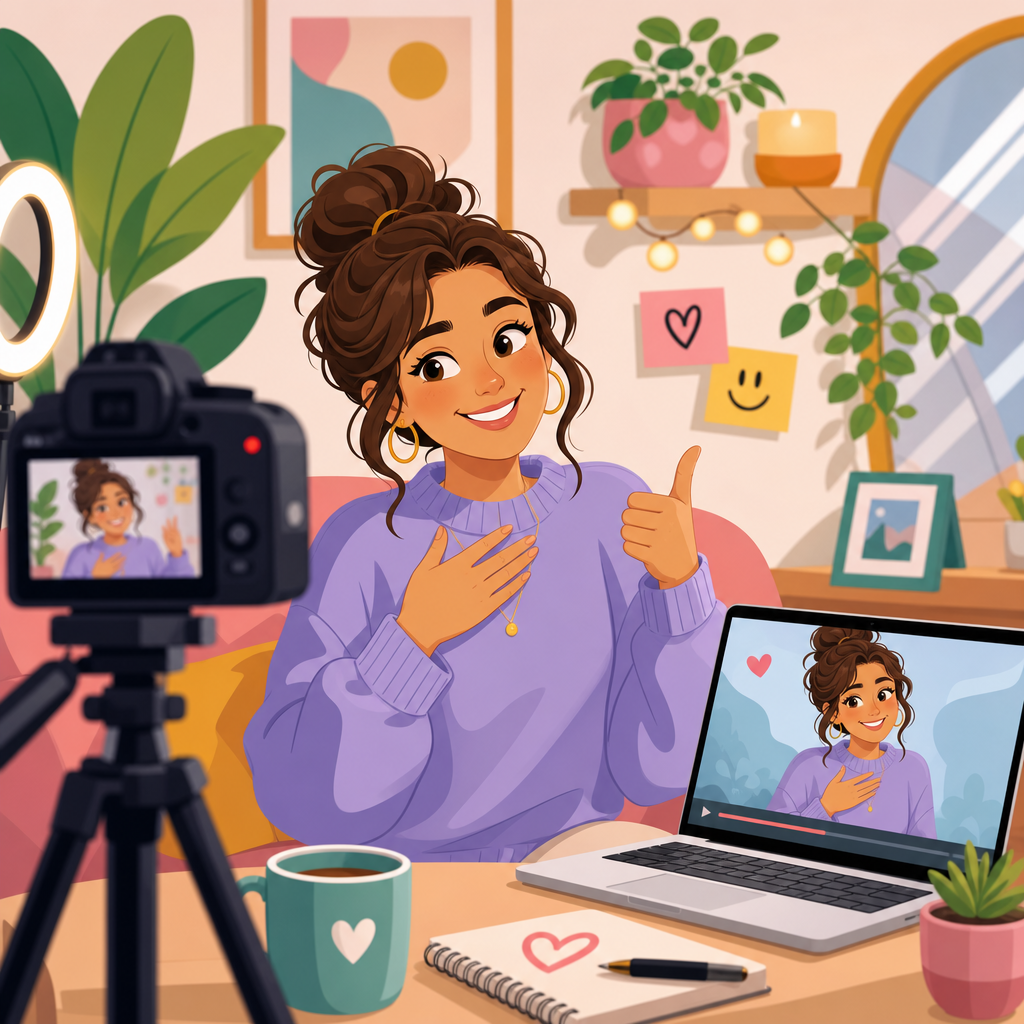
Recording yourself speaking can feel brutal at first, yet it remains one of the fastest ways to improve spoken English because it exposes habits that live conversation often hides. In this context, recording means capturing your voice on a phone, laptop, or app and listening back with a clear purpose. Playback is the review stage: you compare what you intended to say with what you actually produced. Many learners hate that moment because recorded speech sounds unfamiliar, flatter, and more revealing than the voice heard inside your head. That discomfort is normal, not a sign that you are bad at English. I have used self-recording with adult learners for years, and the students who improve fastest are rarely the most confident; they are the ones who learn how to listen without spiraling into self-criticism.
Why does this matter so much? Speaking improves when feedback becomes specific. If you say, “My speaking is weak,” you cannot fix it. If a recording shows that you drop word endings, pause too long before verbs, or speak too softly, you suddenly have trainable targets. Self-recording is also available on demand. You do not need a tutor every day to notice pronunciation, rhythm, pacing, grammar slips, or overused filler words. For busy adults, it creates a private practice loop that fits into ten minutes and compounds over time. The goal is not to love your voice immediately. The goal is to make playback useful enough that discomfort stops controlling the process and progress starts replacing embarrassment.
There is also a technical reason playback feels strange. Bone conduction makes your own voice sound deeper and fuller in your head than it sounds through air and a microphone. When you hear a recording, you are hearing the external version everyone else hears. That mismatch can trigger a harsh reaction even when the recording is objectively fine. Once learners understand this, they stop treating discomfort as evidence. A voice can sound unfamiliar and still be clear, natural, and effective. The right method is to reduce emotional noise, listen for a few measurable features, and track improvement across short sessions instead of judging your identity as a speaker from one awkward clip.
Start with low-stakes recordings and a single goal
The fastest way to hate playback is to record a long monologue on a difficult topic and expect it to sound polished. Start smaller. Record thirty to sixty seconds about something predictable: your morning routine, what you ate, a message to a friend, or a summary of an article you just read. Low-stakes content reduces the mental load, which lets you hear actual speaking patterns instead of panic. In my experience, adults who begin with tiny recordings stick with the habit longer than those who force themselves into three-minute speeches from day one.
Choose one listening goal per recording. Good options include final consonants, sentence stress, speaking speed, filler words, or confidence in starting sentences. One goal is enough because the brain cannot evaluate everything at once without becoming vague and negative. If today’s target is word endings, you should not also judge accent, grammar, and personality. Narrow focus creates evidence. Evidence lowers anxiety.
Environment matters more than learners think. Use a quiet room, place the phone about twenty to thirty centimeters from your mouth, and avoid rooms with hard echo. Built-in phone microphones are usually good enough, but wired earbuds or a basic USB microphone can improve clarity. Better audio will not improve your English by itself, but it prevents you from confusing bad sound quality with bad speaking.
Use a playback method that separates feeling from feedback
Most people listen once, cringe, and stop. A better method uses three passes. On the first pass, listen only for the main message. Ask one question: would a real listener understand me? On the second pass, listen for your single target, such as stress or fillers. On the third pass, note one strength and one next step. This simple structure keeps playback analytical instead of emotional.
Transcription is another powerful tool. After recording, write exactly what you said, including pauses, repeated words, and corrections. Then compare it to what you meant to say. The gap reveals patterns quickly. Learners often discover that their biggest issue is not vocabulary shortage but sentence launch hesitation: they know the words, but they delay before beginning. Others see that they overuse “actually,” “like,” or “you know,” which makes speech sound less controlled.
When possible, use objective markers. If a one-minute recording contains twelve fillers, that is a baseline. If next week it contains seven, progress is real. If your average pause length falls from two seconds to one, fluency is improving. Apps such as Voice Memos, Otter, Notion voice notes, and speech-to-text tools can support this process, but the framework matters more than the app. Consistent review beats perfect software every time.
| Problem heard on playback | What it usually means | Best next action |
|---|---|---|
| Speech sounds flat | Limited sentence stress or pitch movement | Shadow a short clip and exaggerate key words |
| Too many long pauses | Planning while speaking | Use simpler sentence frames and shorter recordings |
| Words blur together | Rushing or weak final sounds | Slow down by ten percent and mark endings |
| Frequent “um” and “uh” | Unmanaged thinking time | Replace fillers with silent pauses |
| Voice sounds tense | Breath control and self-consciousness | Stand up, exhale fully, then record again |
Train the features that make recordings sound better fast
If you want playback to become less painful quickly, work on features that change listener perception fast. The first is pace. Many learners either rush to “sound fluent” or slow down so much that every sentence loses shape. A useful target is controlled speed with clear chunks. Speak in thought groups of three to seven words, then pause briefly. This sounds more natural than forcing every word at the same rate.
The second feature is sentence stress. English is stress-timed, which means important words carry more weight than grammar words. Compare “I WENT to the STORE before WORK” with a flat reading that gives every word equal force. The stressed version is easier to follow even if the accent is not native-like. I often have learners mark content words in a script, record once, then record again with stronger contrast. The improvement is usually obvious within minutes.
Third, clean up beginnings and endings. Weak starts make speakers sound unsure; missing final consonants reduce intelligibility. Practice launching with ready-made frames such as “Today I want to explain…,” “The main reason is…,” or “What happened was….” Then over-articulate the last sound of key words during practice. This is not for sounding robotic forever. It is temporary training that teaches the mouth to finish words fully.
Breath is another overlooked factor. Tension in the throat makes recordings sound thinner and more anxious. Before recording, inhale quietly, exhale longer than you inhale, relax the jaw, and speak standing up if possible. Actors, broadcasters, and language coaches all use breath regulation because voice quality affects perceived confidence. A calmer breath pattern often improves grammar and fluency too, since you stop fighting your own body while speaking.
Build a repeatable habit that makes progress visible
The best recording routine is short enough to survive busy weeks. I recommend a five-day cycle: record, review, redo, compare, archive. On day one, make a one-minute recording. On day two, review it using one target. On day three, re-record the same topic with that target in mind. On day four, compare version one and version two. On day five, save both clips with a simple label such as “ordering coffee” or “project update.” Over a month, the archive becomes proof that your speaking is changing, which is critical when your feelings lag behind your actual improvement.
Keep the topics practical. Record introductions, work updates, opinions, story summaries, or answers to common conversation questions. If you need a broader structure for daily study, connect this habit to this simple English routine for busy adults. Self-recording works best when it sits inside a repeatable practice system instead of depending on motivation alone.
Finally, do not aim to “like” every recording. Aim to recover faster, notice more, and adjust on the next take. That is what skilled speakers do in every field, from language learning to public speaking to sales calls. Playback becomes tolerable when it stops being a verdict and starts being data. Record short clips, listen with one goal, improve one feature at a time, and save the evidence. If you start today and repeat the cycle for two weeks, you will hear something surprising: not perfection, but control, and that is the sound of real progress.
Frequently Asked Questions
Why do I hate the sound of my voice on recordings so much?
That reaction is extremely common, and it does not mean you are a bad speaker. When you hear yourself while speaking, part of the sound travels through your body, including bone conduction, which makes your voice seem deeper, fuller, and more familiar. A recording removes that internal version and gives you the outside version that everyone else hears. The result often feels thin, awkward, or strangely unfamiliar. On top of that, playback highlights details you normally miss in real time, such as rushed pacing, repeated filler words, dropped endings, flat intonation, or unclear pronunciation. In other words, the discomfort comes from unfamiliarity and increased awareness, not from proof that your English is terrible. The most helpful mindset is to treat that first reaction as noise, not evidence. If you keep listening with a specific goal, your brain adapts quickly, and the recording stops feeling like a personal attack. It becomes what it actually is: a useful mirror that shows patterns live conversation often hides.
How can I record myself without feeling embarrassed or discouraged?
The best way is to make the process smaller, shorter, and more purposeful. Do not start by recording a long presentation or expecting yourself to sound polished. Instead, record 30 to 60 seconds on a simple topic, such as what you did today, what you think about a movie, or how you would answer a common interview question. Before you speak, choose just one thing to focus on during playback: maybe word endings, sentence stress, speed, or filler words. This matters because embarrassment grows when everything feels vague and personal, while progress grows when the task is specific and measurable. It also helps to listen in stages. First, listen once without judging. Second, listen for your single target. Third, note one thing you did well and one thing to improve. That structure keeps the session productive instead of emotional. Many learners also benefit from not saving every recording forever. Some recordings are just practice reps, like warm-ups at the gym. The goal is not to create a perfect audio archive. The goal is to build comfort, awareness, and control over time.
What should I listen for during playback if I want to improve my spoken English?
Listen for patterns, not perfection. Most learners improve faster when they focus on a few high-impact areas rather than criticizing every second of audio. Start with clarity: are your words understandable, or do sounds disappear at the ends of words? Then check pacing: are you speaking so fast that your pronunciation becomes blurry, or so slowly that your speech loses rhythm? After that, listen for stress and intonation. Spoken English is not just about individual sounds; it depends heavily on which words you emphasize and how your voice rises and falls. If everything sounds equally flat, your speech may be grammatically correct but still hard to follow. You should also notice filler words such as “um,” “like,” or “you know,” especially if they appear when you are searching for vocabulary. Grammar errors can be worth noting too, but only if they repeat often enough to matter. A practical method is to keep a short checklist with categories like pronunciation, word endings, stress, intonation, pace, fillers, and grammar. Use playback to identify one recurring habit in each session. That approach turns listening into diagnosis instead of self-criticism, which is exactly how recording becomes one of the fastest tools for improvement.
How often should I record myself, and how long should each session be?
Consistency matters more than length. For most learners, short recordings several times a week work far better than rare, exhausting sessions. A strong starting routine is three to five recordings per week, each lasting one to three minutes. That is long enough to reveal real speaking habits but short enough to keep you focused. If you are a beginner or feel very uncomfortable with playback, even 20 to 30 seconds is enough. What matters is repeating the cycle: speak, listen, notice one issue, record again, and compare. This feedback loop is where the learning happens. Longer sessions can be useful later for presentations, interviews, or storytelling practice, but they are not necessary at the beginning. In fact, long recordings often create too much information and make learners feel overwhelmed. A simple routine works best: choose a topic, speak naturally, review with one target in mind, then do a second version immediately. Over a few weeks, those small sessions build noticeable changes in fluency, confidence, and self-awareness. Recording should feel like regular training, not a high-stakes performance.
What is the best way to use playback so I actually improve instead of just judging myself?
Use playback as a comparison tool between intention and result. Before recording, decide what you want to sound like. Maybe your goal is to explain an idea clearly, sound more natural when answering a question, or pronounce certain sounds more accurately. After recording, ask: Did my message come out the way I intended? This shift is important because it moves your attention away from “Do I sound bad?” and toward “What specifically happened?” A very effective process is to follow four steps. First, record a short response. Second, listen once for general clarity. Third, listen again while taking notes on one or two repeated problems. Fourth, re-record the same response with those problems in mind. That immediate second attempt is powerful because it turns awareness into action. You can also transcribe part of your recording and compare it with what you meant to say. This reveals missing words, grammar slips, and places where your speech broke down under pressure. Over time, keep a simple log of recurring issues and improvements. When learners do this, playback stops being an emotional experience and becomes a training method. You are no longer just hearing your voice; you are learning how your spoken English behaves and how to shape it more effectively.